Tuesday, 20 April 2010

Embossed Porcelain Bowls


These bowls were made for our table setting. I had embossed Chinese patterns into the porcelain and then slumped them over different sized and shaped moulds, the intention being that they could all fit nicely into the hands.

When it came to glazing the bowls I chose a Celadon glaze (pale green and typically found on Chinese tableware), Copper Red and Titanium (White).

I used every combination of glaze on the bowls and overlapped them- partly for experimentation and partly because I really like the loss of control and uncertainty of how they will turn out.


Where I had embossed the print, the glazes were supposed to pool and pick up the detail. However, this didn't seem to happen as well I was expecting and I was quite disappointed but the textures are still nice.

The bowl below has started to pick up the detail of the pattern quite nicely. Also like the dripped glaze effect here.


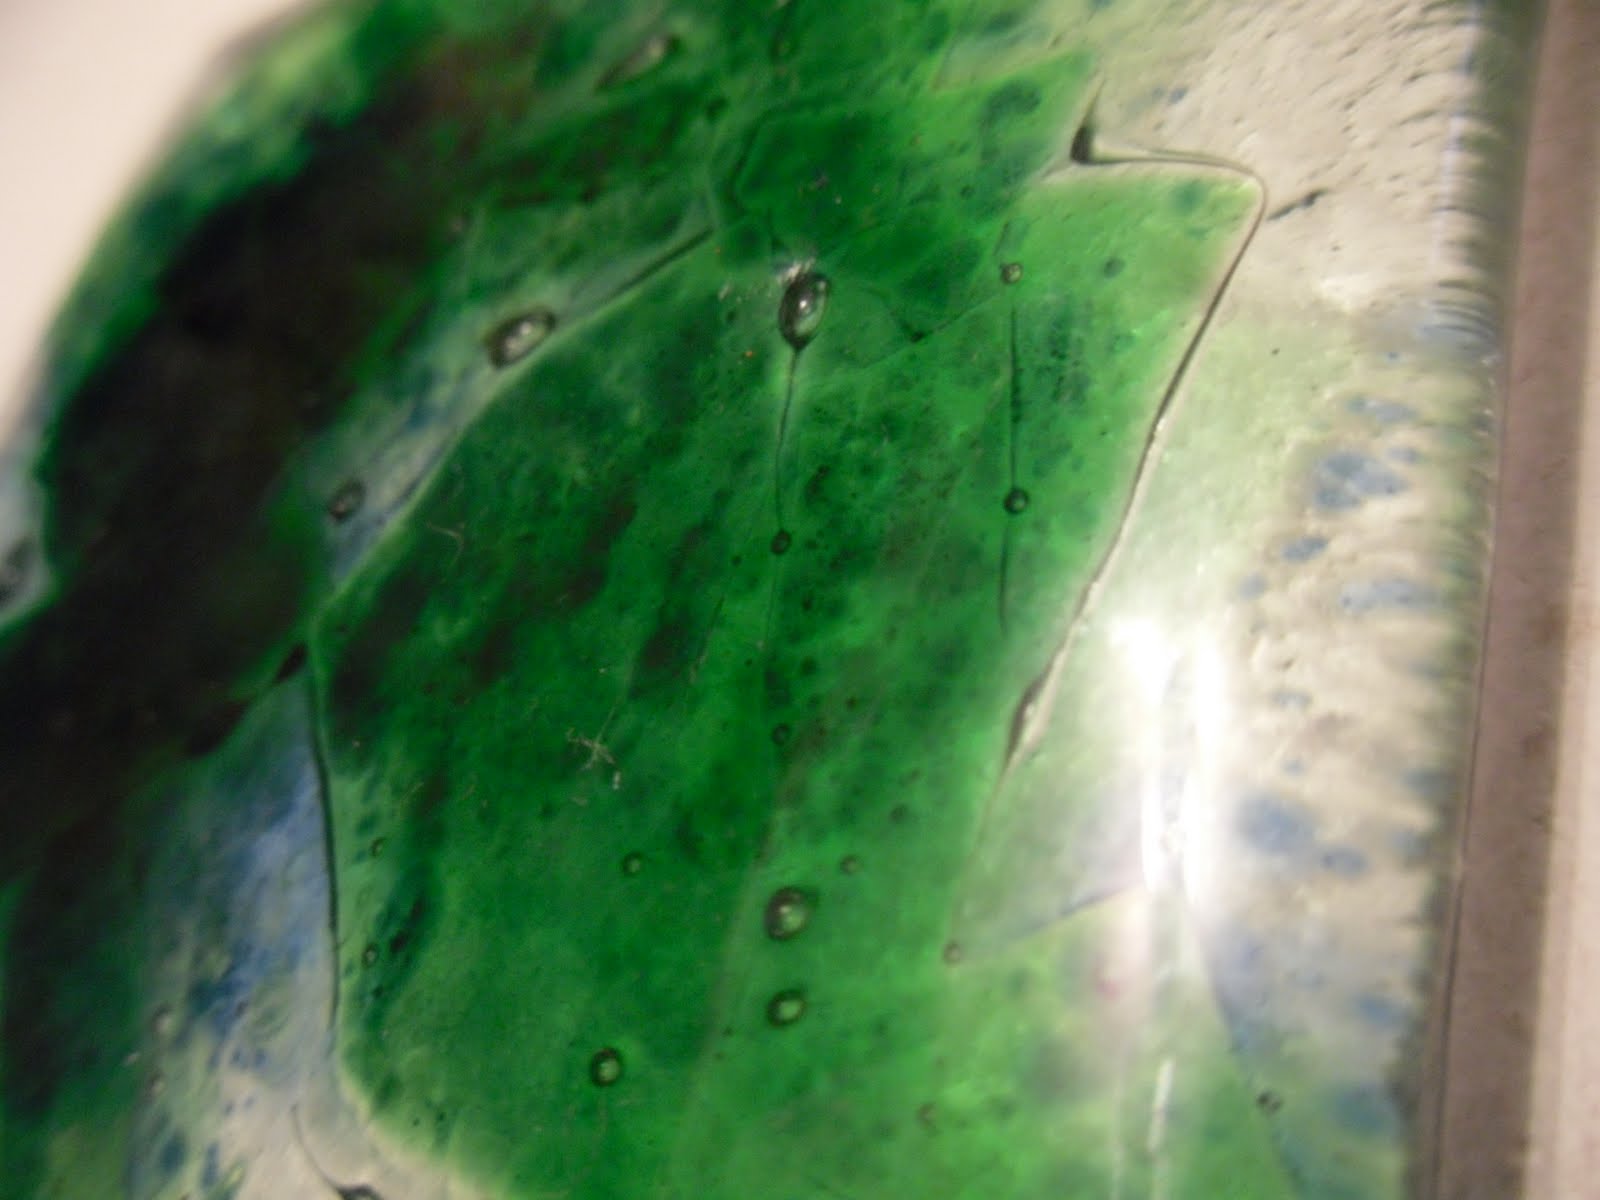
A few close ups of the textures...


And another..


This was another test piece-again using embossed copper sheet, silver leaf, copper leaf and silver wire. I love the effect of the copper leaf and silver leaf overlapped, really effective.

This time, though, instead of sandblasting an intricate pattern over the details of the inclusions, I sandblasted the entire back of the plate to see how this would work. I don't like this one, I think the frosty appearance takes away from the detail of the inclusions.

Here are a few close-ups:


Experimenting With Inclusions


Before and after!


As we were learning new techniques at the same time as doing this brief, I tried to incorporate these new methods somehow. This was another test piece experimenting with inclusions. This particular plate has embossed copper sheet, silver leaf, silver wire and copper tape between the two panes of glass and I was amazed at the result as it was such a difference to how it looked before it was fired!


I then covered the whole piece with sticky-back plastic and used a scalpel to carve out an intricate pattern which was then sandblasted. A long process which required patience, but it paid off- I really like this effect, and this was definitely a technique I would use again.


Test Plates


The first brief of the second term was to set up a table for eight people based on a revolution of our choice. This was a group brief and we had to include evidence of at least glass, metal and ceramic work, with the opportunity to add other materials if we decided it suited our designs.

Our group decided on the Chinese Revolution of 1949 and we brain-stormed a lot of initial ideas for our table setting, but the best way to see what works was to just get making!


This is a glass plate I made as an experiment of slumping over kiln paper. I cut the Chinese symbols out of the kiln paper and placed the glass over the top where I wanted it to go. I used two pieces of glass to make it thicker and between the two panes I placed "egg shells" (very thin glass shards in the shape of eggshells), which I thought were clear but when the piece came out of the kiln they had turned this brown colour which I'm not too keen on. Really like the effect of the Chinese symbols though :)


Monday, 12 April 2010

Friday, 2 April 2010

World of Glass, St. Helen's

We had the opportunity in November to go glass-blowing at the World of Glass in St. Helen's, and I immediately put my name down as it had been something I had wanted to do since starting the course. We had a fantastic day, taught by some of the best glass-blowers in the country as well as watching them practice what they preached doing demonstrations to the public. During the day I made a paperweight which I absolutely love, all greens and bubbles swirled round together.


I also made a marble and had a go at sand-casting (carving a design into wet sand and pouring molten glass over it). As we had not actually had the chance to blow any glass, at the end of the day they let us have a taste of what it was like and how thin the glass can get. So they gathered glass for us and told us to blow as hard as we could...

This was the bubble I managed to blow, and seconds after the photo was taken it exploded because of the immense pressure inside. The glass was so thin it was extremely flexible and just felt like plastic packaging. Can't wait to go back and do some more! :)

Microwave Cufflinks!

During a two-week workshop in glass in the first term, we were given a demonstration of microwave kilning. This is where you are able to make small pieces of glass perfect for jewellery by using a microwave kiln and cooking on high power for approximately 8 minutes. It is a very quick process, and you can get some beautiful results. I decided to turn my microwaved glass into cufflinks for a christmas present, and I love the effect.


The blue ones are definitely my favourite, they are transparent and catch the light really well. Plus I just love blue! Would definitely use this process in the future for small presents or even just to make use of any scraps.