Monday 7 May 2012

Further Experimentation


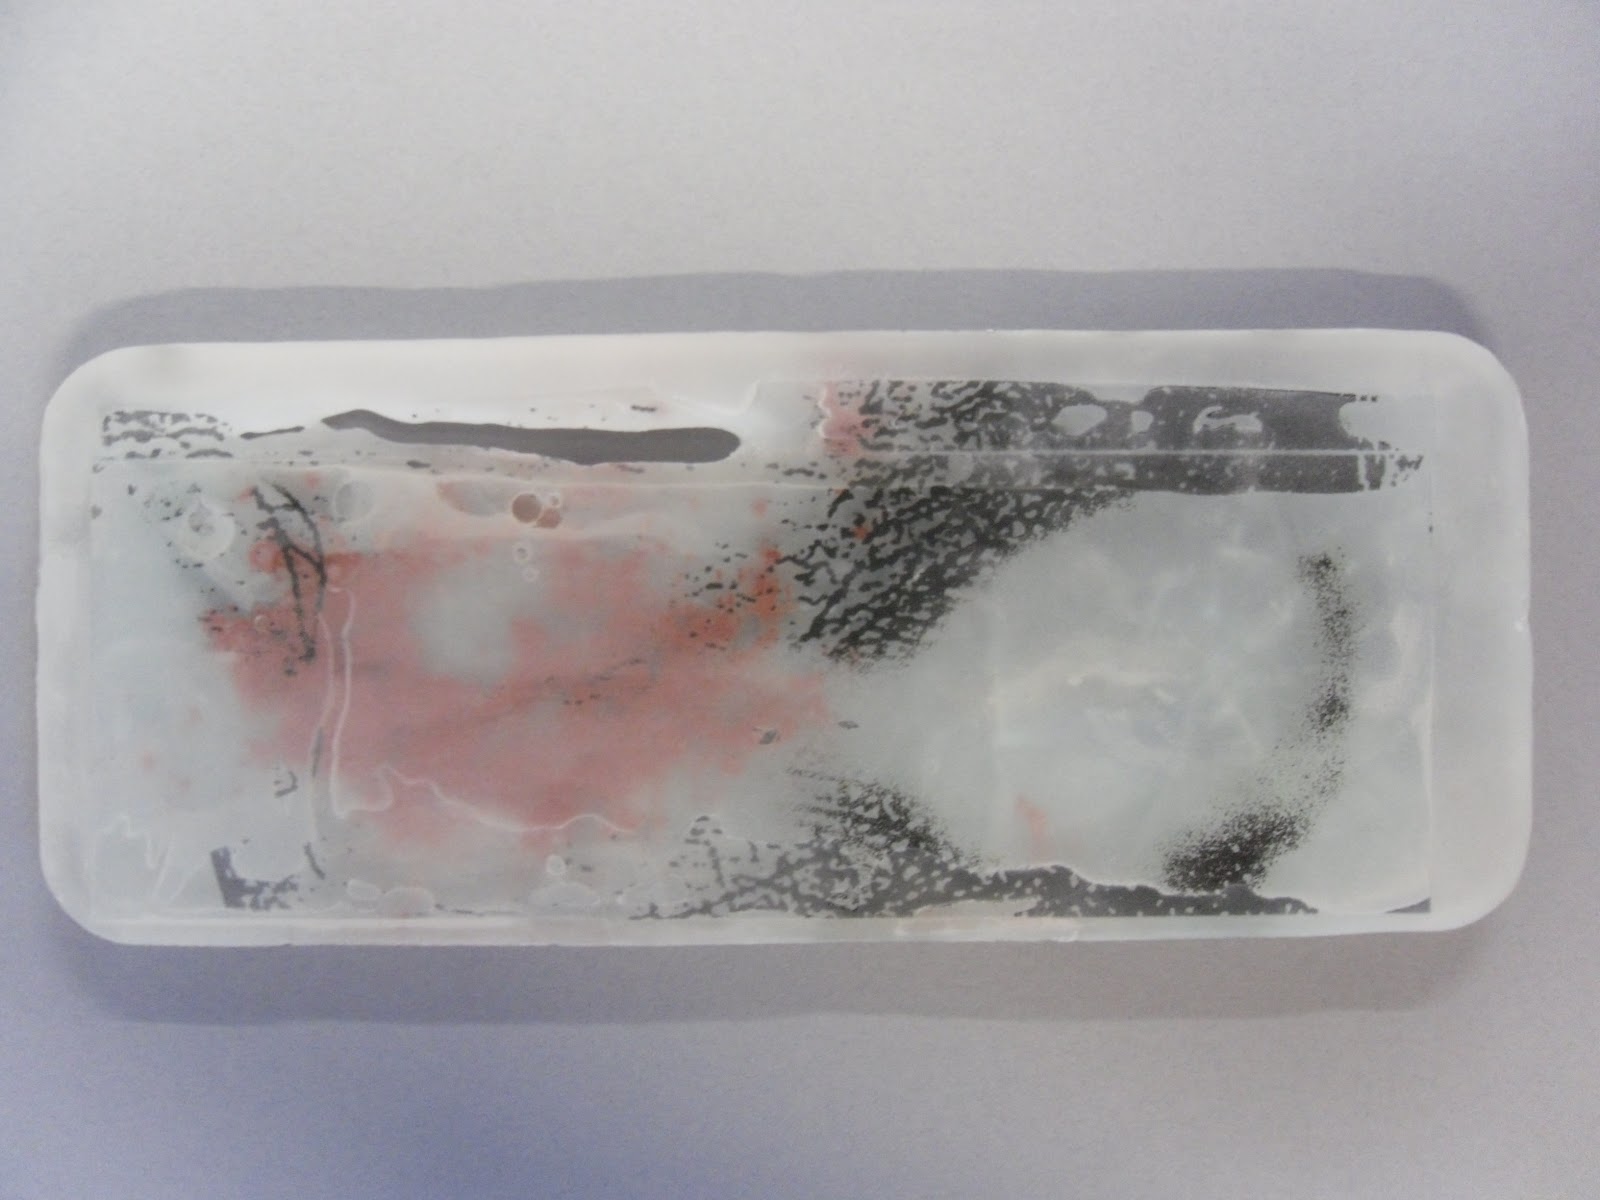
I love to screen-print :) as you may have worked out, and I thought I would screen-print some of my drawings I had done of decaying things, like eroded bark, rusted metal bolts and peeling paint.


One of these images was screen printed in silver stain, and so turned a lovely browny-amber colour during the firing. As I wanted to continue experimenting with laminating glass, I decided to try laminating with UV bonding instead of resin, and instead of trying it with a boring bit of plain clear glass, I wanted to use screen-printed pieces. Here I have started layering the silver stain piece and the black pieces:


Really like the two colours together, and the depth that is created through the layering. The next step I wanted to try was to laminate smashed glass with UV bonding rather than resin. The piece below shows my first attempt at this, and immediately after I had done this I absolutely hated it! 


I hold the opinion that glass always looks better after it has been sandblasted- it is something I have always thought ever since first year. So I decided to sandblast it and wayhey- an improvement! Still was not overly fussed but it seemed to attract a lot of attention from passers by when it was sitting on my desk so that says something!


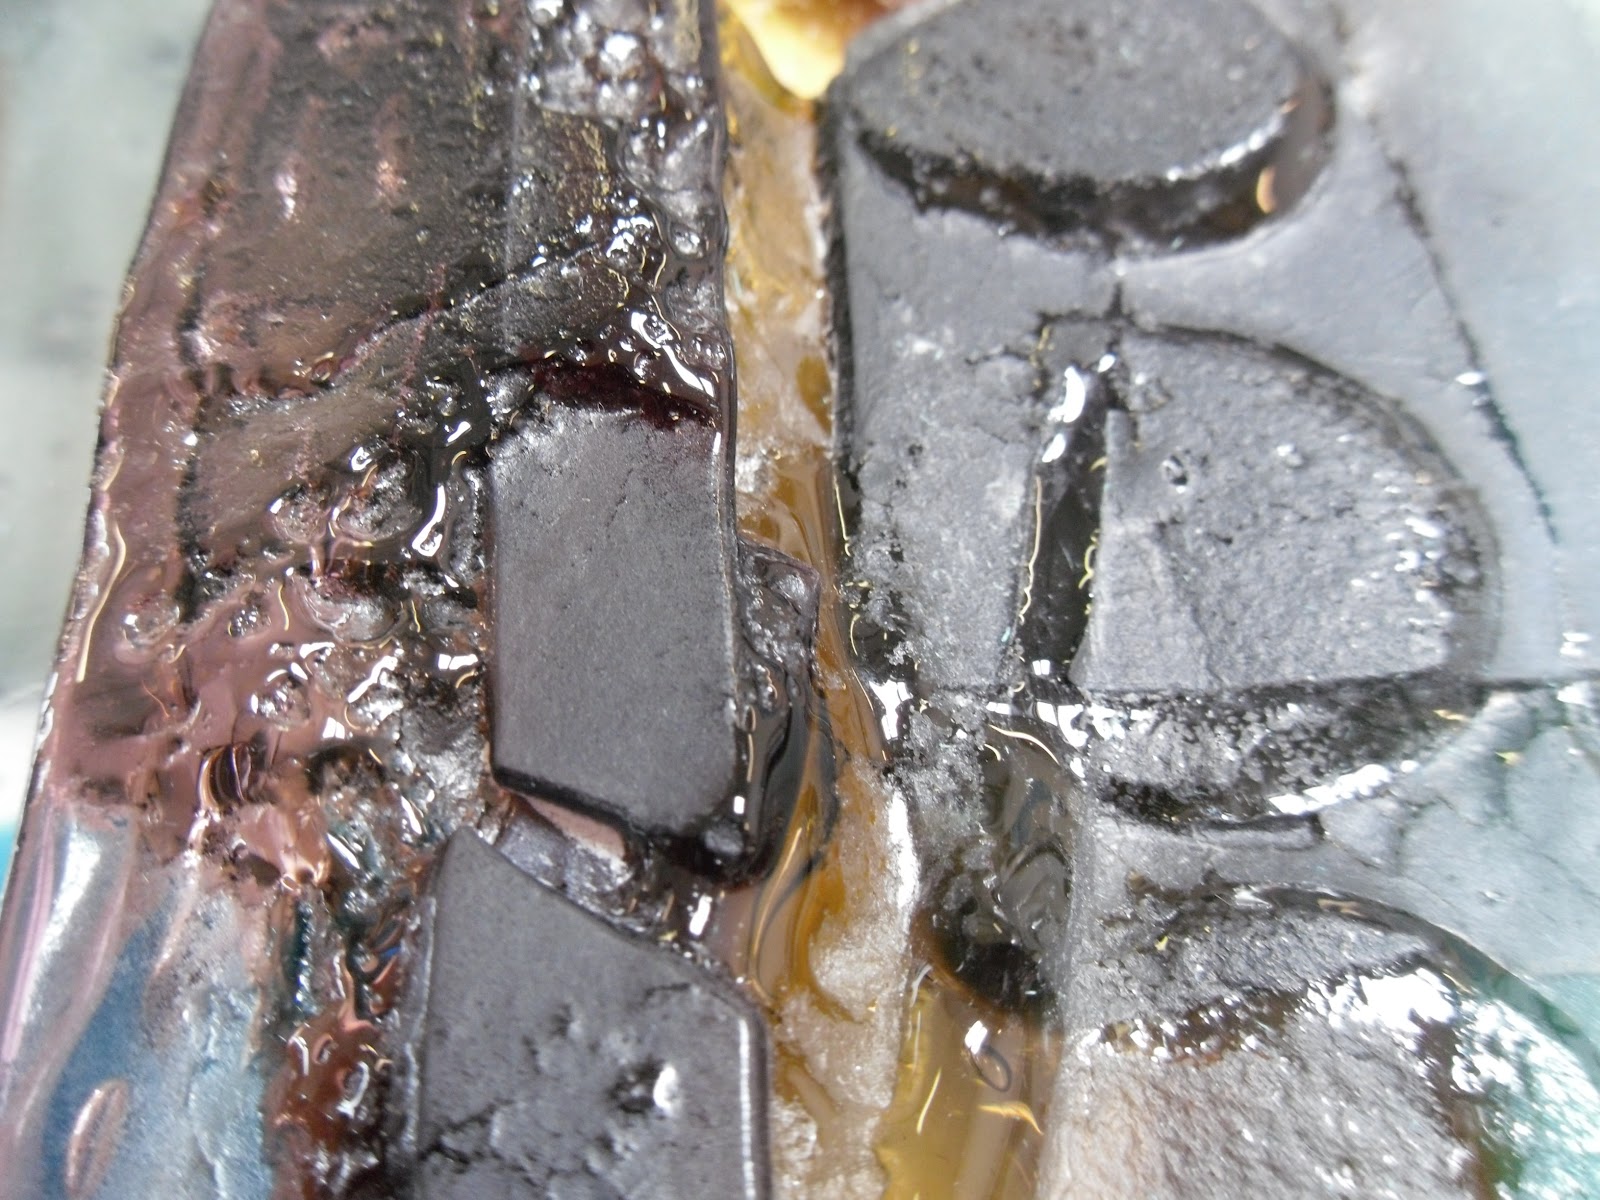
After achieving a sense of some progress, I went back to my initial screen-printed pieces and added a third layer in between the other two, and this was a smashed layer. It varied throughout the test pieces whether the smashed layer consisted of  black screen-printed glass, silver stain screen-printed glass or clear float glass.

In some cases too I also tried adding pieces of bark to the smashed layer- aiming to trap the bark on the inside with the smashed pieces:


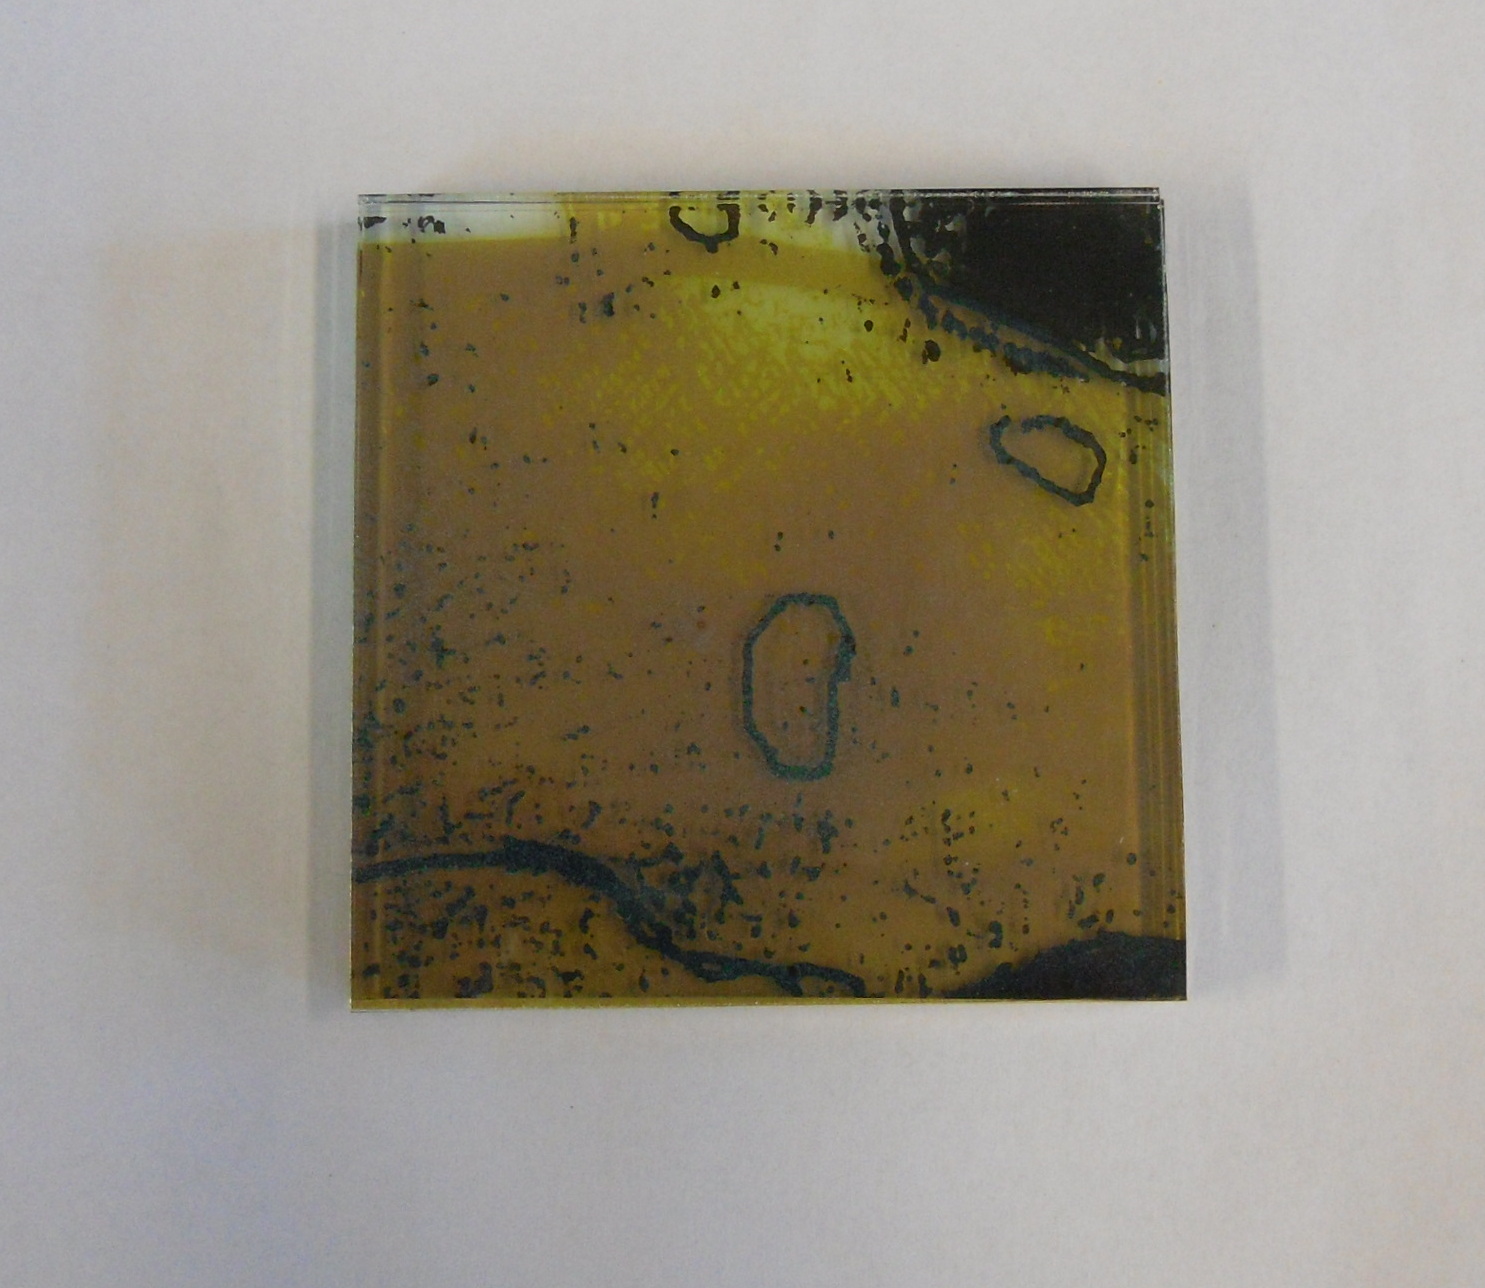
Sticking to my guns, I headed to the sandblaster and focused mainly on sandblasting the edges and corners of the pieces relatively deeply to create an 'eroded' effect. I didn't want to sandblast any of the front or back really, as the detail of the inside layers would not then be visible.

The pieces after sandblasting:


Really really happy with the results of these test pieces- I really feel as though they are capturing the textures that I was aiming to capture all along :)


The Start of 3rd Year!


So I have finally got to the start of third year! :)

For third year we get the opportunity to write our own briefs, and so we can really choose a topic we are inspired by and interested in. For me, I was not entirely sure what it was I wanted to explore, as my worry was that the topic would have bored me after a week!

However, I had bought a book during the summer called 'Lamination' by George Papadopoulos; a glass artist who laminates glass panels using resin and then smashes the panels so that the fragments then stay in their original position. I found this book absolutely fascinating, and I knew as soon as I came back to uni that this was something I definitely wanted to explore.

Some examples of George Papadopoulos' laminated glass:


I began to do a few experiments with small pieces of glass and trying to keep the pieces in place after they had been smashed. This particular test piece (below) was smashed inside a silicone baking tray. I then added a pigment to the areas of impact and sealed the cracks with a clear resin.


After the resin had been left to set slightly, another piece of un-smashed glass of the same size as the first piece was placed on top, and more resin was then poured in to fill the gaps.


This was the piece after it had set and been removed from the mould. I do like how the smashed pattern has stayed in place, but I really did not like the harsh colour of the pigment against the black and the clear areas.


I like to create subtlety in my work, and so I decided to try and achieve this by sandblasting the piece afterwards. I also sandblasted deeply in some areas to actually go through the whole of the thickness of glass and offer another dimension. This was the effect that the sandblasting had:


I was definitely much happier with this effect, and it has encouraged me to continue developing and experimenting with this idea.

Objects for Locations Part 2


Our final module for second year was our second Objects For Locations brief. For this, we were required to find a location first, and design a piece for that location, rather than the previous brief where we chose the most suitable location after the piece was made.

I knew I wanted a derelict-style site, somewhere that I could create a contrast between the old, worn location and the more contemporary glass piece, though I wanted to incorporate the worn textures into the glass somehow as well.

I began the creative process in the usual way- drawing areas of the chosen site which will be used in the making at some point too. Here are the areas I focused on drawing:


I took elements of these drawings and then painted them onto panels of glass in silver stain. These are the pieces before they have been fired (they will become a beautiful amber colour during this firing cycle, nothing like how they look now!)


After firing:


After the silver stain had been fired, I screen-printed the rest of the image on top of the first layer in black enamel, to add a bit more detail in the image:


For my Objects for Locations 1 brief, I had experimented with slumping coloured glass over plaster moulds, and these tests had been well received by my tutors, and so I was encouraged to incorporate this somehow into this second brief.

I had taken some worn and decayed objects from the site, and used these to press directly into plaster. The plaster picked up the textures of the objects, and so by arranging my chosen pieces of coloured glass over the mould, I could then slump the glass into the mould and pick up the textures.

The mould:


After the firing:

textured side

top side

textured side


top side

textured side


top side


textured side


top side


Close up details:


Going back to the first set of panels I had painted and screen-printed, I had decided to make them the same size as the coloured pieces, so that they could go in front of them, and so I cut them in half. As well as this I sandblasted some areas- in places all the way through which I think is a really nice effect. These are the finished panels:


Close up of the detail:


I had designed a steel 'frame' for the pieces of glass to sit in, and here I am mapping out where the glass pieces are going to sit and checking the size of the steel.


This is the finished piece with all the glass in place and in it's location. The light in these photos really does not give the colour in the glass justice- when the sunlight hits it the piece is transformed and the colours really  are gorgeous:


Here are a few details of the piece, showing the panels in front of the coloured pieces.
These pictures give a better idea of the colours in the piece: