Our final module for second year was our second Objects For Locations brief. For this, we were required to find a location first, and design a piece for that location, rather than the previous brief where we chose the most suitable location after the piece was made.
I knew I wanted a derelict-style site, somewhere that I could create a contrast between the old, worn location and the more contemporary glass piece, though I wanted to incorporate the worn textures into the glass somehow as well.
I began the creative process in the usual way- drawing areas of the chosen site which will be used in the making at some point too. Here are the areas I focused on drawing:


I took elements of these drawings and then painted them onto panels of glass in silver stain. These are the pieces before they have been fired (they will become a beautiful amber colour during this firing cycle, nothing like how they look now!)


After firing:

After the silver stain had been fired, I screen-printed the rest of the image on top of the first layer in black enamel, to add a bit more detail in the image:


For my Objects for Locations 1 brief, I had experimented with slumping coloured glass over plaster moulds, and these tests had been well received by my tutors, and so I was encouraged to incorporate this somehow into this second brief.
I had taken some worn and decayed objects from the site, and used these to press directly into plaster. The plaster picked up the textures of the objects, and so by arranging my chosen pieces of coloured glass over the mould, I could then slump the glass into the mould and pick up the textures.
The mould:

After the firing:
textured side

top side

textured side

top side

textured side

top side

textured side

top side

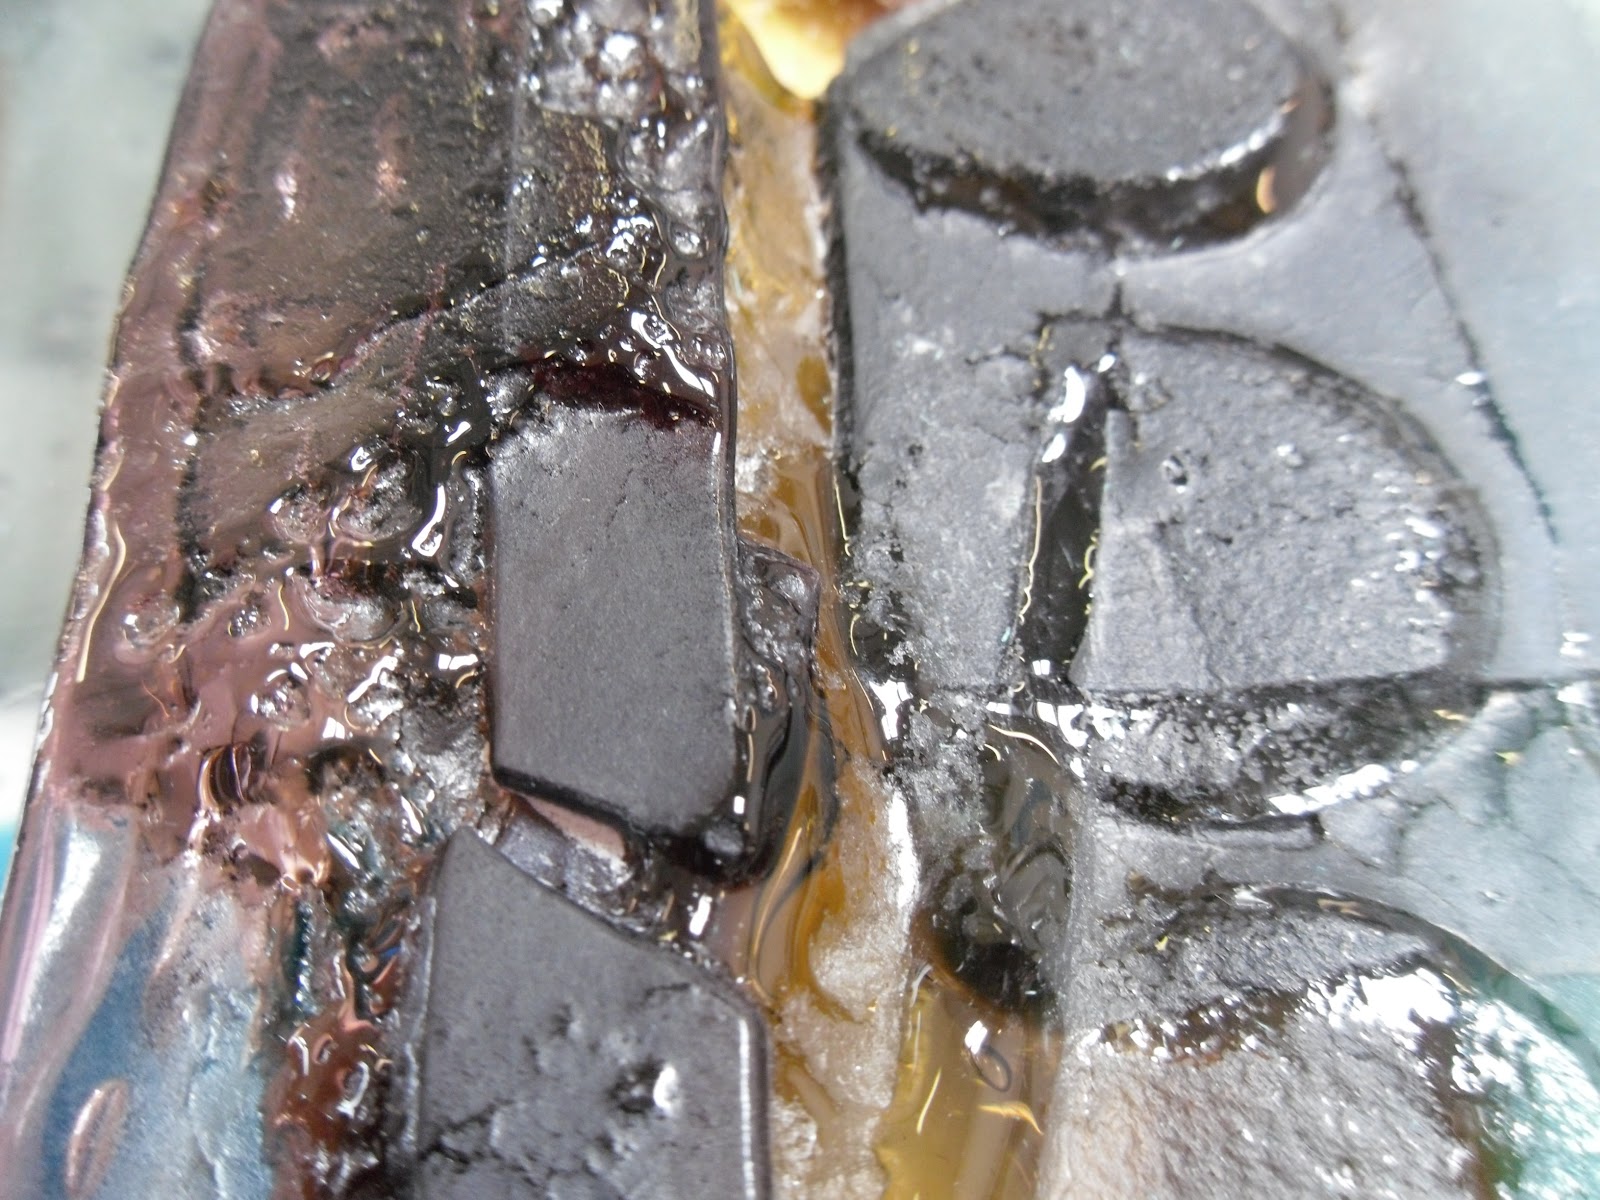
Close up details:


Going back to the first set of panels I had painted and screen-printed, I had decided to make them the same size as the coloured pieces, so that they could go in front of them, and so I cut them in half. As well as this I sandblasted some areas- in places all the way through which I think is a really nice effect. These are the finished panels:


Close up of the detail:


I had designed a steel 'frame' for the pieces of glass to sit in, and here I am mapping out where the glass pieces are going to sit and checking the size of the steel.


This is the finished piece with all the glass in place and in it's location. The light in these photos really does not give the colour in the glass justice- when the sunlight hits it the piece is transformed and the colours really are gorgeous:


Here are a few details of the piece, showing the panels in front of the coloured pieces.
These pictures give a better idea of the colours in the piece:


The colours ARE gorgeous when the sun shines through the piece and I love it. It has survived all weather conditions and the frame has actually rusted even more, creating an even greater contrast with the smooth colourful glass.
ReplyDelete